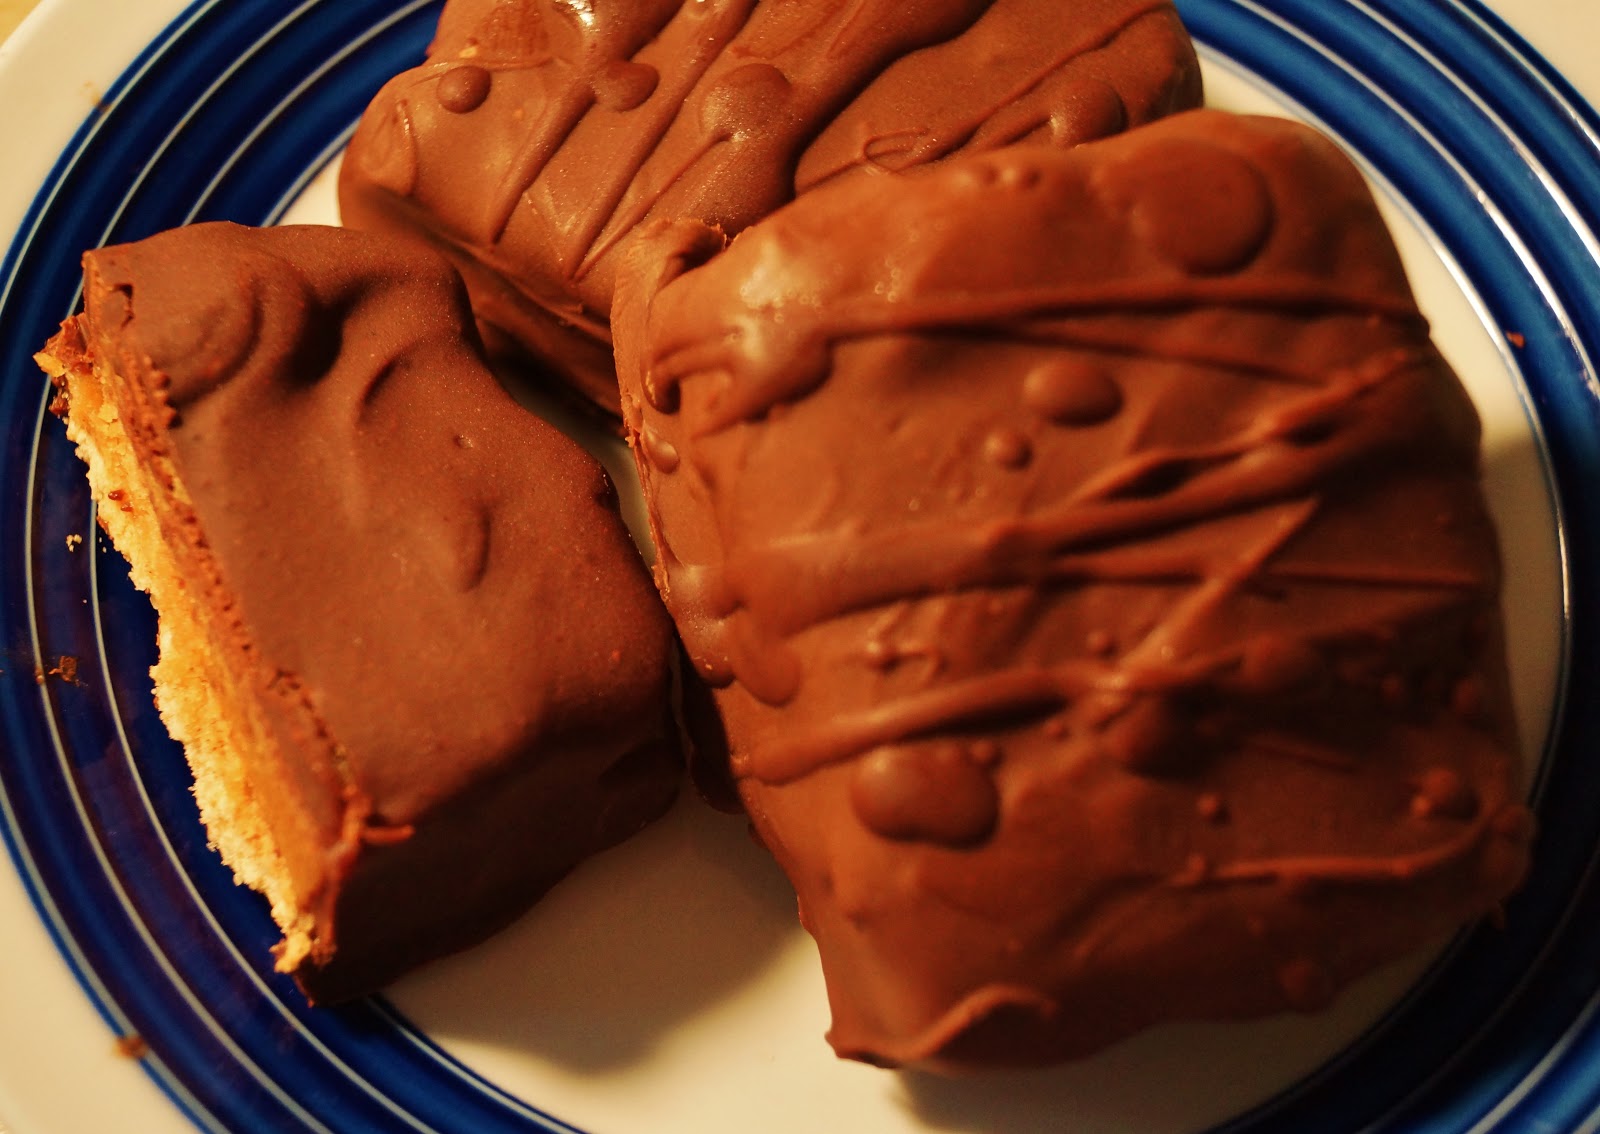
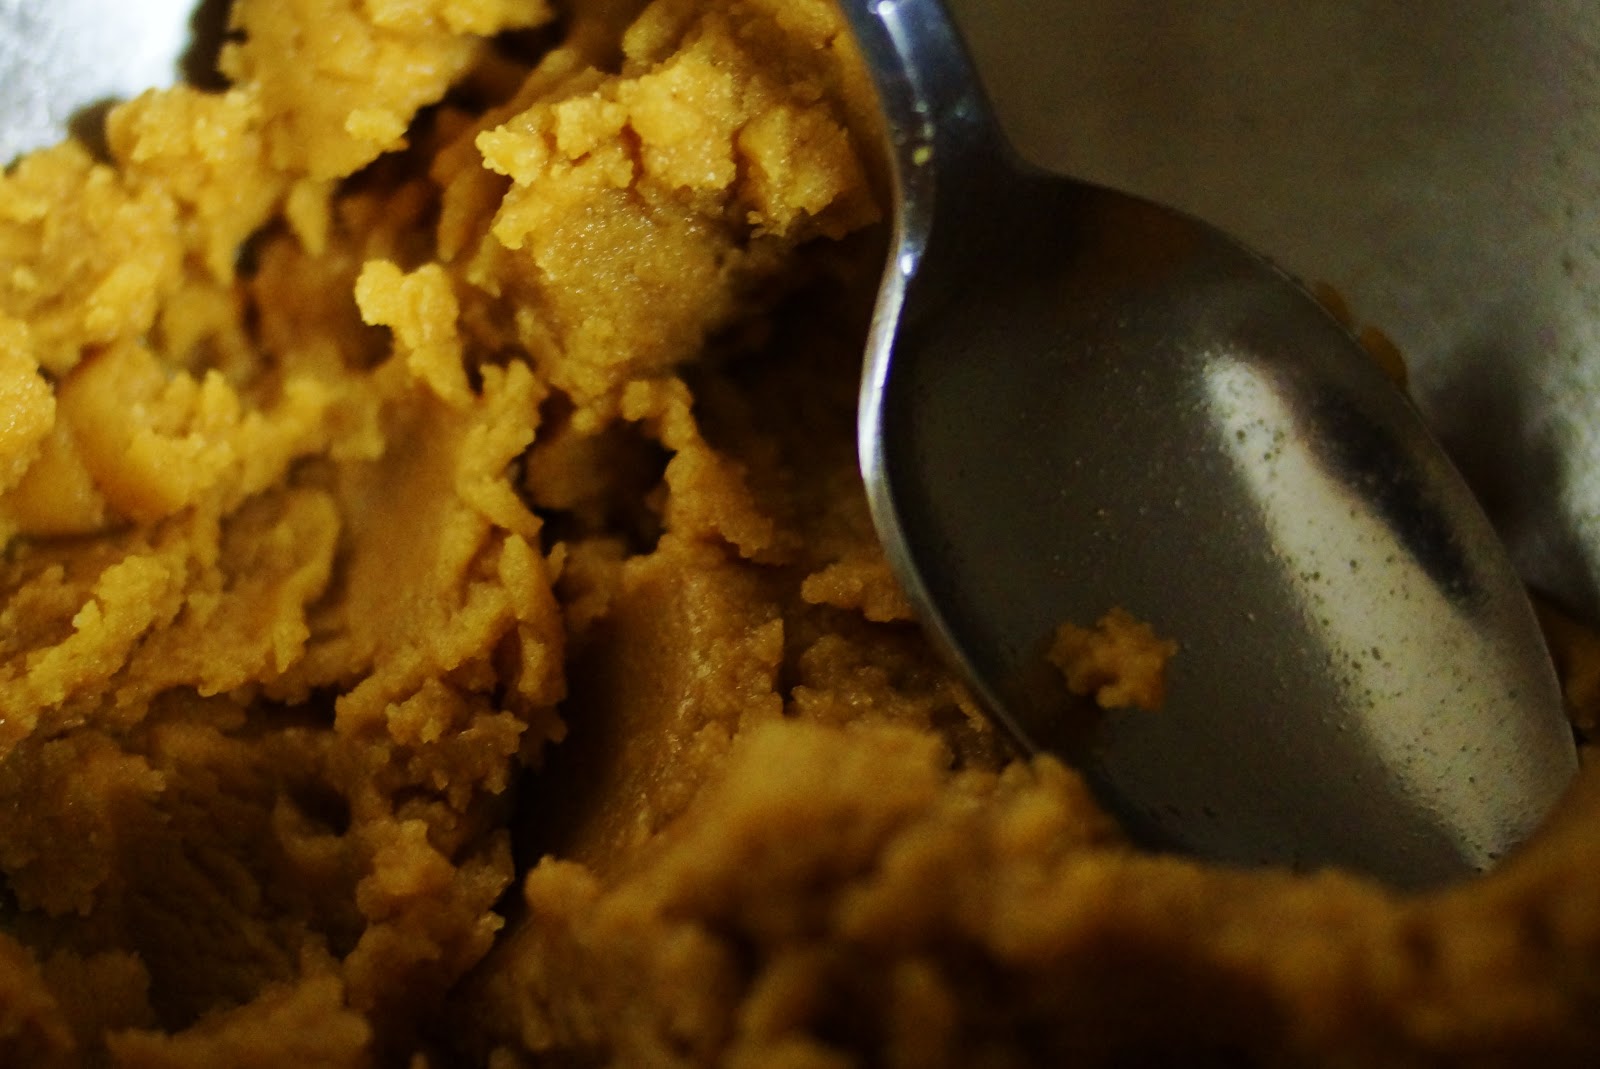
First of all, I have to say that this recipe is one I did awhile ago, but was saving for a special occasion... But I was so totally blown away by the response I got to the chocolate peanut butter sandwiches that I posted the other day that I decided that I just had to post it. Turns out everybody is dying for classic, signature recipes that Disney has retired. The chocolate cream cheese buckle is just exactly that.
Those lucky enough to have eaten at Cinderella's Royal Table are well aware of this decadent treat, which used to be one of their signature desserts. I remember a variation of this back when it was King Stefan's character breakfast back in the 90's. While it was originally served as a warmed muffin, it since evolved from breakfast sweet treat to a full blown, signature dessert that's topped with ice cream and chocolate sauce. The writing was on the wall for this dish's retirement came when it was removed from the regular menu and made only available for celebrations. From there, it very quietly was discontinued all together. While it does occasionally resurface for limited runs, it's no longer a steady regular and nobody really knows why it was pulled from the menu, the the assumptions are that, despite it's popularity, they just wanted a change.
I don't think I even need to say how awesome the combination of chocolate and cream cheese is. At its absolute best served warm with ice cream, this is a rich, creamy, positively sinful treat and a surefire guaranteed favorite of anybody who condones the overuse of chocolate (as if chocolate could ever be overused). I'm not even a dessert person, but this made me rethink my stance on overeating at dinner and skipping the treats afterwards.
Luckily for me (but not my diet), this is crazy easy to put together and the ingredients are not at all expensive or exotic. I actually made this with my 2-year-old and we had a blast. My only tips for this would be to know that if you're using smaller muffin pans, not the over-sized tins, be sure to not overfill the muffins... You'll regret it if you do, because these expand like I've never seen a muffin expand and the mess it creates is pretty epic. This goes hand-in-hand with my next tip: use muffin liners. I know they don't at Disney, but Disney also has somebody who's job it is to wash dishes. Unless you have somebody on-staff to do your dishes (or children), or a dishwasher that's a lot more effective than mine, I'd use the paper liners and say the aesthetic difference is part of the business of doing Disney at home.
~~~~ °o° ~~~~
Chocolate Cream Cheese Buckle
As is served at Cinderella's Royal Table, Magic Kingdom
°o° 1 egg
°o° 1 teaspoon vanilla extract
Streusel Topping
Streusel Topping
°o° 1/2 cup sugar
°o° 4 tablespoons flour
°o° 1 teaspoon ground cinnamon
°o° 4 tablespoons butter, softened
Chocolate Cake
Chocolate Cake
°o° 1 boxed dry mix chocolate cake (plus ingredients to make it)
°o° 1 cup semisweet chocolate chips
°o° 1 cup semisweet chocolate chips
In one bowl, add all ingredients for the cream cheese filling, mix until combined, set aside.
In another bowl, combine all ingredients for streusel topping with a fork until mixture is crumbly, set aside.
In a third bowl, prepare chocolate cake batter according to instructions. Fold in chocolate chips. Set aside.
Preheat oven to 375 and spray muffin pans with cooking spray or line with paper baking cups. Fill each muffin cup halfway with chocolate cake batter. Spoon about 1 tablespoon of the cream cheese mixture on the top of the chocolate batter. Sprinkle with streusel topping.
 Bake for 18-20 minutes or until a toothpick inserted in the chocolate cake portion comes out clean. Cool about 10 minutes before removing from pan.
If desired, remove from paper liners, serve warm, topped with ice cream, chocolate syrup, and additional chocolate chips.


