First of all, I have to say that this recipe is one I did awhile ago, but was saving for a special occasion...  But I was so totally blown away by the response I got to the chocolate peanut butter sandwiches that I posted the other day that I decided that I just had to post it.  Turns out everybody is dying for classic, signature recipes that Disney has retired.  The chocolate cream cheese buckle is just exactly that.

Those lucky enough to have eaten at Cinderella's Royal Table are well aware of this decadent treat, which used to be one of their signature desserts.  I remember a variation of this back when it was King Stefan's character breakfast back in the 90's.  While it was originally served as a warmed muffin, it since evolved from breakfast sweet treat to a full blown, signature dessert that's topped with ice cream and chocolate sauce.  The writing was on the wall for this dish's retirement came when it was removed from the regular menu and made only available for celebrations.  From there, it very quietly was discontinued all together.  While it does occasionally resurface for limited runs, it's no longer a steady regular and nobody really knows why it was pulled from the menu, the the assumptions are that, despite it's popularity, they just wanted a change.


I don't think I even need to say how awesome the combination of chocolate and cream cheese is.  At its absolute best served warm with ice cream, this is a rich, creamy, positively sinful treat and a surefire guaranteed favorite of anybody who condones the overuse of chocolate (as if chocolate could ever be overused).  I'm not even a dessert person, but this made me rethink my stance on overeating at dinner and skipping the treats afterwards.

Luckily for me (but not my diet), this is crazy easy to put together and the ingredients are not at all expensive or exotic.  I actually made this with my 2-year-old and we had a blast.  My only tips for this would be to know that if you're using smaller muffin pans, not the over-sized tins, be sure to not overfill the muffins...  You'll regret it if you do, because these expand like I've never seen a muffin expand and the mess it creates is pretty epic.  This goes hand-in-hand with my next tip: use muffin liners.  I know they don't at Disney, but Disney also has somebody who's job it is to wash dishes.  Unless you have somebody on-staff to do your dishes (or children), or a dishwasher that's a lot more effective than mine, I'd use the paper liners and say the aesthetic difference is part of the business of doing Disney at home.


~~~~  °o°  ~~~~

Chocolate Cream Cheese Buckle
As is served at Cinderella's Royal Table, Magic Kingdom
 
Cream Cheese Filling
°o°  8 ounces cream cheese
°o°  1/3 cup plus 1 tablespoon sugar
°o°  1 egg
°o°  1 teaspoon vanilla extract

Streusel Topping
°o°  1/2 cup sugar
°o°  4 tablespoons flour
°o°  1 teaspoon ground cinnamon
°o°  4 tablespoons butter, softened

Chocolate Cake
°o°  1 boxed dry mix chocolate cake (plus ingredients to make it)
°o°  1 cup semisweet chocolate chips

In one bowl, add all ingredients for the cream cheese filling, mix until combined, set aside.

In another bowl, combine all ingredients for streusel topping with a fork until mixture is crumbly, set aside.

In a third bowl, prepare chocolate cake batter according to instructions.  Fold in chocolate chips.  Set aside.

Preheat oven to 375 and spray muffin pans with cooking spray or line with paper baking cups.  Fill each muffin cup halfway with chocolate cake batter.  Spoon about 1 tablespoon of the cream cheese mixture on the top of the chocolate batter.  Sprinkle with streusel topping.

Bake for 18-20 minutes or until a toothpick inserted in the chocolate cake portion comes out clean.  Cool about 10 minutes before removing from pan.

If desired, remove from paper liners, serve warm, topped with ice cream, chocolate syrup, and additional chocolate chips. 
~~~~  °o°  ~~~~


I picked a really bad week to be allergic to peanut butter.

Ok, so I can't pick being allergic to peanut butter, but the truth of the statement still stands...  This isn't a great week to have a peanut allergy in my house.  It feels like everything I've made lately has peanuts or peanut butter in it.  An even bigger bummer as everything I've made looks utterly fantastic.

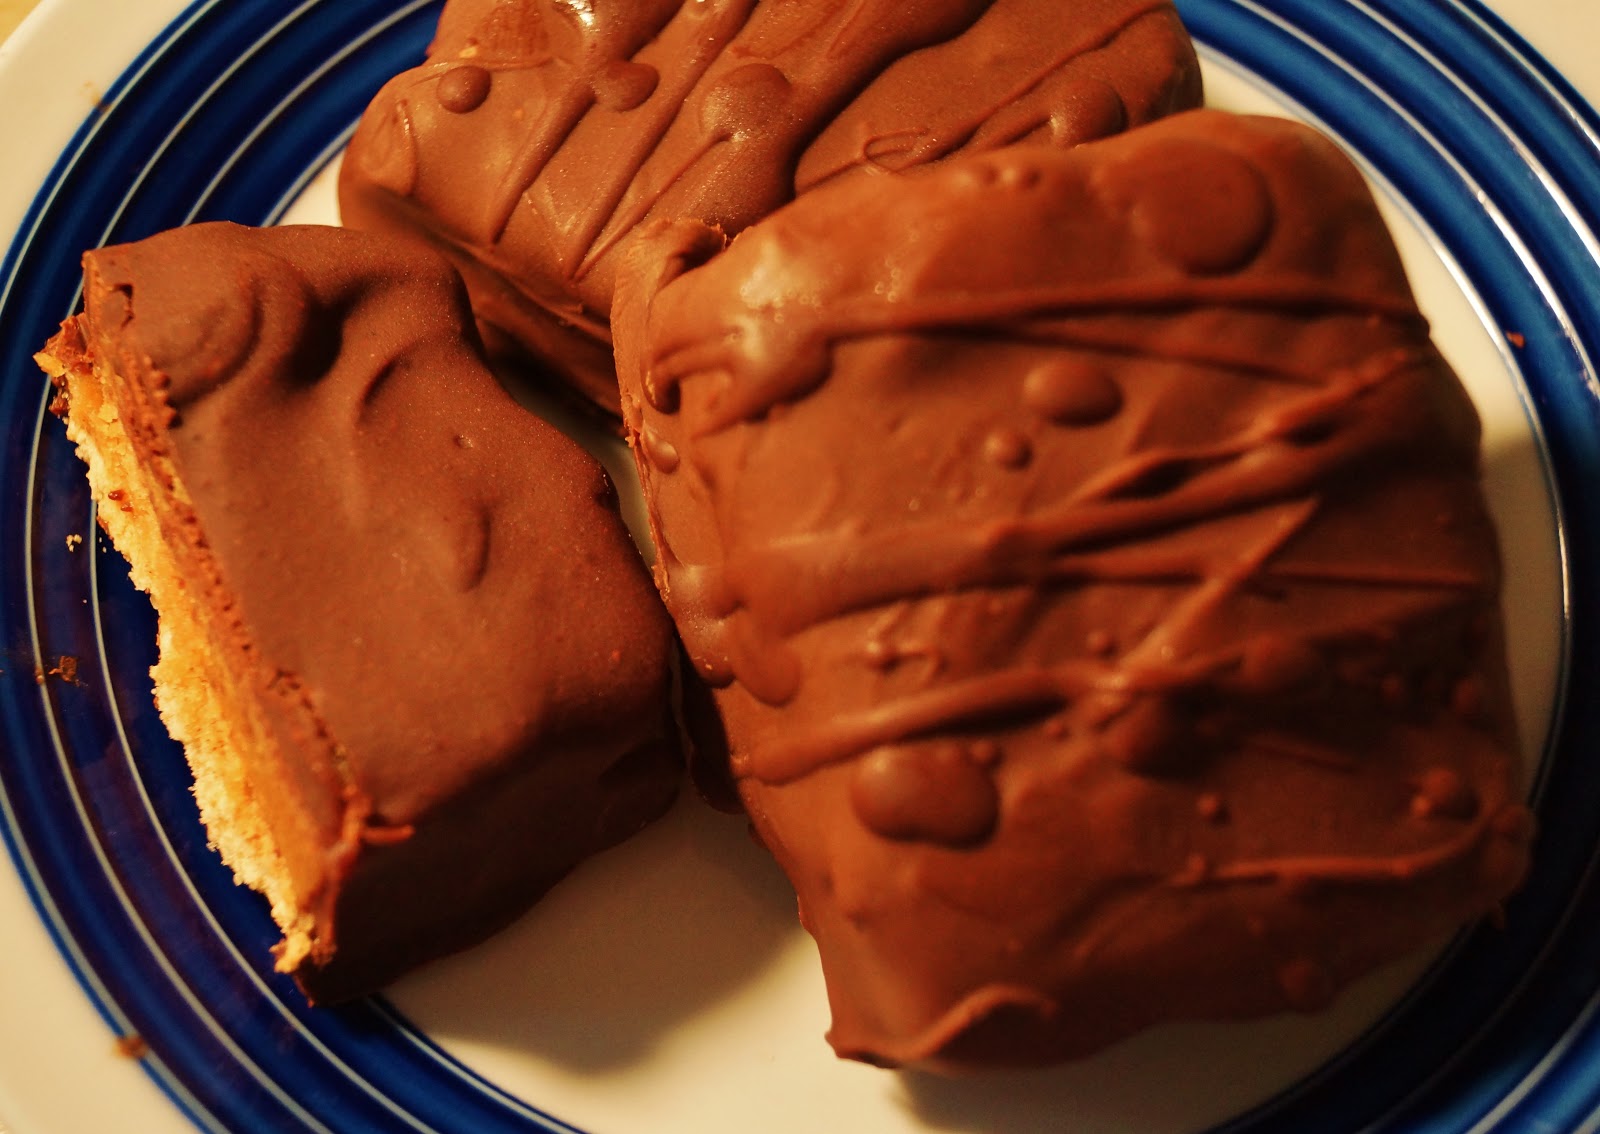
The recipe today is a total throwback.  While it's something that's still around occasionally in Disneyland, it used to be one of Disney World's signature treats at the Main Street Bakery and Starring Rolls at the former MGM and has since been retired.  I have heard that you can rarely find them around in the fall, especially around Halloween, but despite their cult status as a treat that rivals Mickey ice cream and rice treats, it hasn't been found reliably around WDW in about 10 years and Disneyland started phasing them out about 5 years ago. 

However, there was a time where these little sandwiches were the go-to treat.  Creamy, chocolaty, and kept cold (even frozen!), they were like a peanut butter ice cream sandwich and a slice of heaven on a hot summer day.  Their taste, retro feel, and former "must have" designation has elevated them almost to mythic cult status with Disney snackers...  So much so that when they were brought back for 3 days (that's right, they were randomly available for 3 days), I saw Twitter forwards like you wouldn't believe when they'd been spotted and people giving running updates as to their availability.  Honestly, it was crazy.  I've never seen a snack inspire such frenzy in people.

As a result of what I think is the most viral Disney Twitter explosion not involving the new Fantasyland that I know I'd ever seen, I reached out to one of my connections to get some more info about this treat.  What I came back with was the recipe, direct from one of the folks who used to actually make it back in the mid 90s.  According to him, the snack was good and enjoyed by many, but people complained that it'd melt too quickly and was way, way too messy to really enjoy.  Then, as luck would have it, at the place on property where this treat was exclusively available at the time (which I'm not going to name because I don't want to get anybody in trouble for sharing the story with me...), in one of their displays that is refrigerated, they had some extra space and they decided to slide a few of these bad boys in the refrigerated case.  From there, the iconic chocolate peanut butter sandwich as it was known was born and became a sensation, eventually becoming available at several places throughout Disney.

Nobody really knows why these were phased out...  They were time consuming to make and difficult to store, but more importantly they were served in conjunction with a sponsorship with a peanut butter company that has long since expired which may have been the nail in the coffin to this delicious treat. 

I'd have to agree that, while making these is easy, it certainly is time consuming and requires a lot of space, both on the counter and in the fridge.  If you've got both of those issues worked out, then you've got a hit on your hands with this recipe. 

I served this as is, making no real changes at all.  The only thing is that I don't have the fancy-pants molds that they have at Disney, so I quite literally spooned the mixture on the cracker and then molded it with my hands to a square, level shape.  It's not messy or sticky, so I really didn't mind getting hands-on with the peanut butter mixture.  I'll also say that I went with a combination of chocolates...  I did half of the bars with milk chocolate and a dark chocolate drizzle, the other half dark chocolate with dark chocolate (tempered with whipped cream) drizzle.  Honestly, I hate working with milk chocolate because it's such a pain, so for those who don't do a lot of chocolate work, I'd suggest going with a dark or bittersweet and then adding whipped cream to reach a taste that you'd enjoy.  But if you're more confident working with milk chocolate without burning it or having it seize, then go for it.  Quality of chocolate really matters for this recipe, perhaps more then any other chocolate recipe I've used in awhile.  Don't go cheap or you'll regret it.  In fact, Disney has a contract with a certain chocolate company that they use for their chocolate work, a company that also has a store in Downtown Disney...  Again, can't say the name here because this recipe isn't featured at their establishment, but I have made some marvelous cookies for this blog that come from the same spot if you need a hint...  Anyway, they're expensive, but for sure the best way to go if you can find them in your grocery store.  


~~~~  °o°  ~~~~

Chocolate Peanut Butter Sandwiches
As was served at Main Street Bakery, Magic Kingdom, and Starring Rolls, former MGM Studios (now Hollywood Studios)
 
°o°  14-16 ounces high-quality milk chocolate (or 60% dark chocolate)
°o°  2 tablespoons butter flavored shortening, melted
°o°  6 graham crackers, halved

°o°  1 1/2 cup smooth peanut butter
°o°  4 ounces cream cheese
°o°  1/2 cup sugar
°o°  2 tablespoons butter, melted
 
Slowly melt the chocolate in a double boiler or in the microwave in increments of 30 seconds.  Be very sure, especially if using the milk chocolate, that no moisture gets into the chocolate (perhaps a microwave would be best for some to melt milk chocolate).  Add melted shortening and stir.  Dip the graham crackers into the melted chocolate and place on wax paper.  Place in fridge or freezer to allow to set.

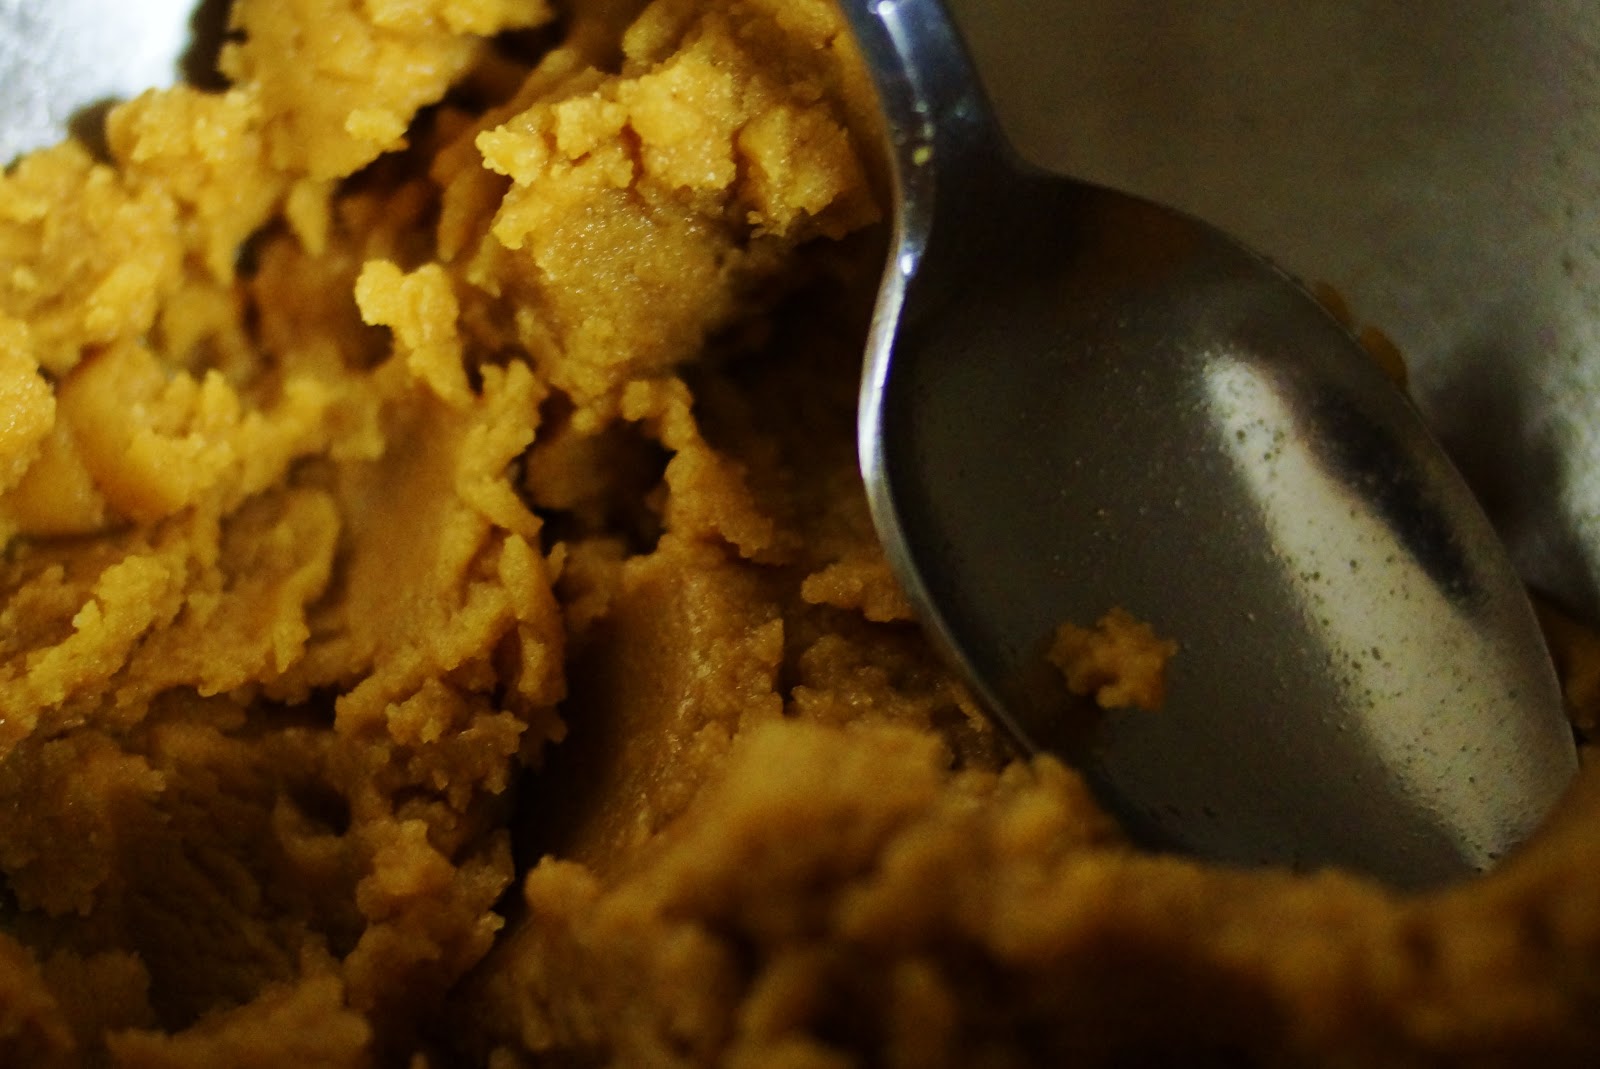
In a bowl, combine peanut butter, cream cheese, sugar, and melted butter and beat until all ingredients are completely combined.  Allow to sit in a refrigerator for about 10 minutes.  

Remove graham crackers from fridge along with peanut butter mixture.  Top graham crackers with peanut butter, about 3/4 inch high, and patted into a flat, square shape (matching the graham cracker).  Return to fridge for about 10 minutes.

Re-melt the chocolate.  Remove peanut butter sandwiches from fridge and dip into the melted chocolate, being sure to cover all exposed areas of peanut butter.  (I would pour chocolate over the top of the square and allow it to flow down the sides.)  Return to waxed paper and refrigerate several hours or until firm.  Either store in covered containers in the fridge or wrap individually with waxed paper and freeze.
~~~~  °o°  ~~~~
I've thought Wolfgang Puck was a culinary genius ever since I caught one of his old shows airing as a "filler" on the early morning weekend programming block of The Food Network.  I couldn't understand a word the man was saying, but he seemed so into what he was doing, and his food looked so good, it was impossible to not want to jump in a kitchen after watching his contagious personality.  After I tried his recipe for garlic bread, the most amazing garlic bread the world has ever seen by the way, this man became one of my cooking idols.  Even Gordon Ramsay, my other huge favorite, worships the ground the man cooks on.

That status as culinary god was further cemented by eating at Wolfgang Puck Express in Downtown Disney...  Amazing food, humungous portions, and only a counter-serve credit?  A genius and a philanthropist to the cause of enjoying the best of Disney at a bargain.  My first trip to Disney in September of 2011, I ate there 4 times in 7 days.  In January, 3 times in 4 days.  This last trip, 3 times in 7 days.  When I get home, I always really regret not eating there more.  As I said, kind of a big fan.

When I got the recipe for his famous bacon wrapped meatloaf, I freaked out.  First I freaked out with excitement over actually having this recipe, the actual one from Wolfgang Puck Express.  Pair it with the cream cheese mashed potatoes and this was going to be a win.  Then I freaked out when I read the recipe...  Not a single ounce of bread crumb, bread, or panko to be seen.  His secret ingredient?  Mushrooms.  MUSHROOMS.  I hate mushrooms.  Hate, hate, HATE mushrooms.  Had Wolfgang Puck been feeding me mushrooms on the sly?  And I never noticed?  This, for me, was like seeing a piece of behind-the-scenes Disney magic that you never wanted to see.  I was totally convinced that this dish, one of my favorites, was ruined forever and despite loving it while I ate it, I could never think of it the same way again if it really and honestly did include mushrooms.

Turns out, after multiple confirmations, that yes, Wolfgang Puck uses mushrooms, not breadcrumbs, in his meatloaf under the belief that it makes the loaf moister, have better texture overall, and adds to the meaty flavor (as mushrooms absorb the flavor of meat very well) in a way that bread just can't. 

I almost passed on this recipe...  I just really hate mushrooms.  I didn't want to eat anything with mushrooms in it.  I literally had to sell myself on the idea of making this the entire time I was grocery shopping.  I had to convince myself it'd be worth it, that I wouldn't notice, and that it'd taste amazing.  When I chopped the mushrooms, I freely admit I went overboard, chopping them to almost a fine paste in the fear of tasting them when I ate a slice. 

As usual, it turns out my insanity was wasted...  When it was cooked, you couldn't tell that there were mushrooms, which if I hadn't melted down into full "mushrooms are nasty" mode, I'd have rationally realized as you can't tell when you order it at Wolfgang Puck Express either.  And the meatloaf was delicious, perhaps maybe slightly under seasoned from what is served (but that may have been my fault...  I forgot to add thyme and added less salt), but otherwise, an amazingly spot-on copy of what is offered at Wolfgang Puck express.  Honestly, it was like a slice of Disney vacation. 


Wrapping the bacon around the meatloaf was way easier then I thought to do, but very difficult to explain.  Hopefully, by the pictures I took, people can see what I did.  Basically I layered the bacon in a zipper-like fashion, with the end of the bacon slightly more then halfway across the bottom of the pan, then layering the next piece in the opposite direction.  This worked amazingly well, and it looked way cool.  I tried to make sure that the fatty portions of the bacon weren't all on top of each other, layering it so that fat was over bacon meat, not bacon fat over bacon fat (which hopefully makes sense), so as to keep the bacon from falling apart...  And it should go without saying, this is a really, really fatty dish.  I had to drain it partway through cooking so that the bottom of the meatloaf wasn't stewing in fat.  I'll also say that the waterbath was the big secret to the moistness of this dish, along with the mushrooms.  The extra little bit of hassle is totally worth it.

This was one of my favorite dishes to make and serve for this blog...  Seriously, it was amazing.  If I'd had beef broth on hand to make that amazing sauce they serve with it and some onion straws, I'd have been in heaven.  But there's always next time...


~~~~  °o°  ~~~~

Wolfgang Puck's Bacon Wrapped Meatloaf
As is served at Wolfgang Puck Express, Downtown Disney
 
°o°  3 tablespoons extra virgin olive oil
°o°  1 onion, peeled and diced
°o°  1/2 pound mushrooms, trimmed and finely chopped
°o°  3 large cloves of garlic, peeled and minced fine
°o°  1 cup heavy cream
°o°  1 1/2 teaspoons oregano, minced
°o°  1 1/2 teaspoons thyme, minced 
°o°  1 1/1 teaspoons salt
°o°  1/2 teaspoon ground black pepper
°o°  1 pound ground beef
°o°  1 pound ground pork
°o°  1 pound ground veal
°o°  1 egg, lightly beaten
°o°  1 pound bacon
In a large skillet over medium-high heat, heat the olive oil and saute the onion until translucent.  Add mushrooms and garlic and cook until they begin to color, about 3 minutes.  Stir in the cream, spices, salt, and pepper,and bring to a boil.  Reduce heat and simmer until vegetables are cooked, about 5 minutes.  Remove from heat and allow to cool.  

Preheat oven to 400 degrees.  

Combine beef, pork, and veal, add egg.  Stir until ingredients are completely combined (using hands is sometimes easiest).  Set aside.

In a 9x5x3-inch pan, line the bottom and sides of the pan with bacon slices, making sure the edges overlap slightly and hang over the edges.  Add meat mixture, patting smooth and evenly.  Fold the ends of the bacon up and over the meat mixture, enclosing it completely.  Cover with foil and place in a roasting pan
 
Prepare a water bath by putting roasting pan in the warmed oven and adding boiling water until the water comes halfway up the side of the loaf pan.  Cover the roasting pan with aluminum foil.  Slide shelf into the oven and bake 1 hour.  Remove the foil and continue to bake until meat hits 160 on a meat thermometer, an additional 30 or so minutes.  Drain if needed.

When done, remove meatloaf and allow it to rest in the pan for 10 minutes.  Cut the loaf crosswise into 8 slices.  Serve drizzled with gravy made from pan juices, if desired.
~~~~  °o°  ~~~~


Halloween...  One of my favorite holidays.  You have an excuse to dress up, eat tons of candy, and celebrate the darker, spookier side of life.  Being a lifelong fan of "Haunted Mansion" and lover of the weird and spooky, Halloween is my time of year.

When I got the recipe for the Jack Skellington Sugar Cookies, I was over the moon.  I love, love, love "The Nightmare Before Christmas."  I love cookies.  What a perfect match...  It was like Tim Burton and Johnny Depp, like Madame Leota and Tarot Cards, like pumpkins and the headless horseman...  It just seemed to belong so perfectly.  Add to that my recent trip to Disney and seeing these cookies absolutely everywhere, I figured this couldn't be a cooler recipe. 

And then I made them.  Yikes.  The recipe I had?  Not good.  They were bland, they were dry, they just weren't that tasty.  And the sugar frosting?  It was really practically inedible.  Even my son, who I think is in some way related to the Cookie Monster, took one bite and wanted no more.  I can imagine no bigger sin in my son's world then to refuse a cookie, and if this one was worth refusing...  That says something.

Now, to be fair, a lot of the recipes I get are authentic, but they're done in such huge batches that they have to be scaled down by the chefs that give them to me.  After all, I have no real need to do batches of 100 cookies.  Sometimes, when those conversions are made, while technically accurate by proportion, they don't taste quite right.  This recipe was an obvious victim of that phenomenon as, when I made them the second time, I had the very exact same issues: a bland, dry cookie with icing that was gross.  Very un-Disney. 

But at least they looked great.

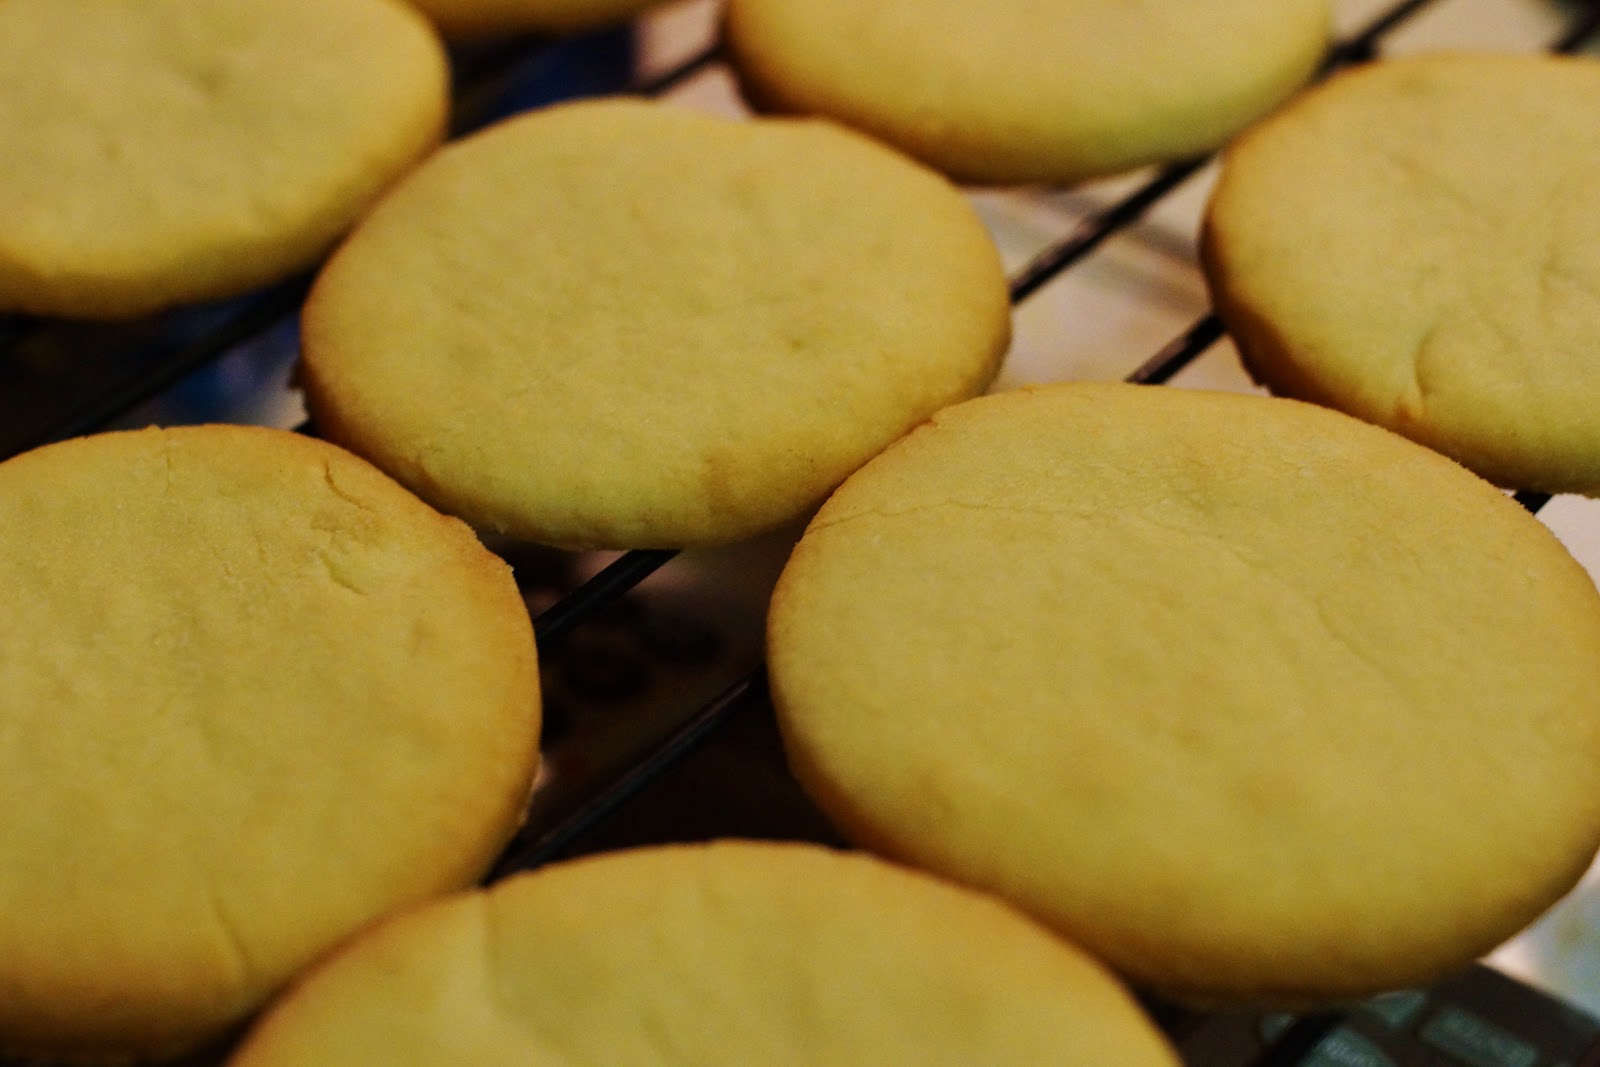
That all being said, it's not like this recipe is a total loss.  The idea behind it still works...  Just your favorite, trusted sugar cookie recipe (or buy some premade cookies, or premade cookie dough), ice it with white frosting or icing or chocolate, and using a small tipped bag of black decorator gel, and you have your own, edible, Jack Skellington cookies.

But of course, I also made another discovery in this process...  That I don't have the patience to decorate that many cookies.  But that's a problem for a different day. 


October 17, 2012...  Day 11.  Still horribly sick with the cold that just won't go away.  Constant coughing, persistent sore through, and no end in sight.  Tylenol and comfort food are my only sources of relief.  Would write more, but the energy I've spent trying to type has wiped me out..  I must rest.  Winter is coming.

Ok, so maybe I'm exaggerating a bit (and watching too much "Game of Thrones," a decidedly un-Disney program, I might add), but I'm still in the death grips of what I've named the Florida Flu...  The worst cold I've ever had in my life, the onset of which coordinated perfectly with the day I was flying home.  Nothing says fun like bad cold at 40,000 feet, except for maybe spotting a creature on the wing of the plane ("Twilight Zone..."  I'm almost done, I swear).


The part about craving comfort food?  That part is true, though.  And what I wanted, more than anything, is soup.  Nice, simple, delicious, hearty, soup.  The reason I went with this soup was simple...  I had all the ingredients on hand but the pumpkin and ginger, so I didn't have to do any major shopping.  Yes, it sounded awesome, yes it looked easy to prepare, but in the spirit of full disclosure, this recipe appealed to my total lack of desire to be seen in public, as well as my need to be disgustingly lazy.  And it was for these same reasons that I used canned pumpkin instead of a whole pumpkin, which was my only major change to the recipe.  Peeling, seeding, and chopping a 4 pound pumpkin?  I wasn't really feeling it.  I was, however, feeling opening 2 cans of pumpkin puree and calling it done.

I must say, this recipe totally hit the spot.  I didn't expect to really taste the ginger (I may have added slightly more then what was called for...), but actually it was a really nice compliment to the pumpkin.  I don't really get the point of the milk foam on the top...  It didn't add to the flavor, though it did look cool, but I've never made anything with a foam before and it was an interesting experience.  That said, it's not really necessary.


My big warning is that this recipe makes a lot of soup.  Enough to feed a small army.  Were I to do it over again, I'd half the recipe, for sure.  However, I fed my son a bowl and a half for lunch, then afterwards he asked to take a nap.  He was out for 3 hours.  So...  Parents, do with this information what you will. 

~~~~  °o°  ~~~~

Pumpkin-Ginger Soup
As is served on Disney Cruise Lines
 
°o°  3/4 cup butter
°o°  2 onions, finely sliced
°o°  1 stalk celery, chopped
°o°  2 tablespoons fresh ginger, grated
°o°  1/2 cup flour
°o°  2 1/2 cups vegetable stock
°o°  1 (4 pound) pumpkin, peeled, seeded, and cubed (or 2 cups pumpkin puree)
°o°  1 1/4 cups heavy cream
°o°  3/4 cup apple juice
°o°  salt and pepper to taste


Milk Foam
°o°  1/4 cup whole milk
°o°  1/4 cup heavy cream
°o°  Nutmeg garnish, optional
Melt butter in a large stockpot, add onions.  Cook for about 2 minutes.  Add celery and ginger, cooking an additional 2 minutes or until onions are translucent and celery is soft.  Whisk in flour, stirring constantly, forming a rue.  Slowly add vegetable stock, whisking constantly to break up lumps.  Bring to a boil, allowing mixture to thicken.  Add pumpkin.  Reduce heat to medium-low and simmer for about 30 minutes, stirring often to prevent scorching.  Add heavy cream and apple juice, stir well.  Cook an additional 20 - 30 minutes until mixture is heated and pumpkin has softened.
 
Working in batches using an immersion blender or regular blender, blend the soup until creamy.  Add additional stock if soup is too thick.  Strain through a fine-mesh sieve, if desired.  Season soup to taste with salt and pepper.  Ladle into bowls and serve warm.

To make foam garnish, add milk and heavy cream into a small saucepan and warm, being careful to not boil the mixture.  Using an immersion blender, whip mixture until foamy.  Place small amount of foam in the center of soup before serving, garnish with fresh grated nutmeg, if desired.

Serves 10

~~~~  °o°  ~~~~
 
Sorry for the looooong abscence...  I was certainly gone longer then I'd ever dreamed I would be.  Unfortunately, illness, website problems, a new job, and yes, even a Disney trip kept me pretty occupied.  Of course the illness and website problems were kind of miserable, but I wish I could say that new jobs and Disney trips were my legitimate excuses for falling behind in life.  Usually it's a combination of children, an inability to be on time, and sheer laziness that present special challenges for me...  But that's a different topic for a different blog!

While I was at Disney, not only did I have an utterly awesome, amazing time (people, the new Fantasyland looks awesome.  Seriously.), but I came back with a new cookbook focused on Disney holidays and seasons.  Turned out that was a better-than-anticipated addition to my library, as I also brought back a monstrous cold that, 10 days later, is still making me miserable.  As a result of my cold and my longing for Disney, I seem to crave a steady supply of Disney-related, seasonably appropriate comfort food that requires little-to-no effort to prepare on my part, something this cookbook has in abundance.

Ironically, the first recipe I pulled from this cookbook actually wasn't all that easy to prepare (or should I say, it was easy, but it was time consuming), but because it has it's roots in one of the best places to eat at Disney, Artist Point, I had to make it.  Sometimes nostalgia and an overwhelming desire to eat well trumps convenience.


I'm ashamed to admit that I've only had gnocchi once in my life, at Le Cellier actually, and while I liked it, I'm basically clueless on how to make it.  I get the principle behind this potato-based dumpling, and I know it's a favorite to prepare on shows like "Top Chef," and I know it's an "in" food right now, however, that food trend has yet to hit our area of New Hampshire.  Such is the fate of those of us who live in an area where it's Chilis, Applebees, Taco Bell, or bust.  Seeing as I wanted to try something different (and I over-bought on sweet potatoes), this recipe was a great fit, though not without it's challenges.

First, I'll say that roasting the potato as opposed to boiling it was genius, as it both brought out the sweet, caramel-sugar taste of the potato, and it got me out of actually peeling a potato, my least favorite kitchen job.  By roasting it, the skin was easier to peel than an orange.  Already, huge win in my book.  While I'm sure it'd have gone faster to peel, boil, and mash the potato, the taste was noticeably better after roasting and if cooking it for an hour gets me out of peeling, then I'll do it with a big smile on my face.  However, like most people I suspect, I don't have a potato ricer...  But I did have a large strainer and a spoon which I used instead (and when that didn't go fast enough, an over-sized glass tumbler to mash it through the strainer).  While it gave me the desired effect, it did take forever to do and, unfortunately, I think that simply mashing the potato wouldn't give you the consistency needed for the dough.  Next time, I'm using my Salad Shooter (yes, I own one...  Don't judge) or a regular cheese grater since I realized that would be faster and as effective after it was too late for me to do anything about it.

Second issue was that, after adding all of it together, I added either too much flour or used too little sweet potato.  I added water to help get the dough to the right consistency, but in hindsight, I'll probably go with more like 1.5 pounds of sweet potato as opposed to 1 pound.  Sweet potato is easy to store and freeze and I think the flavor is only helped by adding more sweet potato instead of water.  But that said, even with water added, the sweet potato flavor was very pronounced and utterly delicious.  For those who don't have truffle oil, simply use another infused oil that compliments sweet potatoes, olive oil, or just leave it out.  While the truffle oil does give a nice hint of flavor, it's not something you need.  I'd probably make it without next time.

I also have to plead guilty to the fact that by the time I got to the 4th or 5th portion of the dough, I was tired (did I mention I'm still sick?) so my cutting of the gnocchi wasn't as uniform as it could have been...  It certainly didn't look like Artist Point and it won't go down as the prettiest dish I've ever made (I thought it looked like little orange scallops), but holy cow, did it taste awesome.  I love the buttery sweetness of the drizzle and the sweet potato flavor, which I was worried would be lost behind the butter, was perfect.  Maybe I'd add less butter next time, and I'd certainly try harder to make it look nicer, but other then that, I wouldn't change a thing.  I'm even tempted to add this to my Thanksgiving dinner...

And, a special note for my sister (and anybody else who cares)...  This freezes beautifully.  Freeze it in a boil-safe bag and then, when it's time to eat, drop the bag in boiling water, make and add the butter when you're ready to serve, and you're done.


~~~~  °o°  ~~~~
Sweet Potato Gnocchi with Honey-Truffle Brown Butter
As is served at Artist Point at the Wilderness Lodge
 
Gnocchi
°o°  1 pound sweet potatoes
°o°  2 to 3 cups all-purpose flour
°o°  1 egg yolk
°o°  1/2 teaspoon course (or Kosher) salt

Honey-Caper Brown Butter
°o°  1 stick butter
°o°  2 tablespoons honey
°o°  1 teaspoon truffle oil
°o°  Salt and pepper to taste
Preheat oven to 450.  Using a fork or knife, pierce sweet potatoes all over and then bake until tender, 45 minutes for smaller potatoes, an hour or slightly more for larger potatoes.  Allow to cool to room temperature and then remove and discard peel.  

Using a potato ricer or grater, rice potatoes into a large bowl.  Add 2 cups of flour and egg yolk, stirring with your hands until the dough is soft, but not sticky.  Add more flour if needed to sticky dough, additional sweet potato or water to dough that's too dry.  


Divide the dough into 6 balls and roll each dough ball into a rope until it is about 1 inch thick.  Slice the rope into 1-inch pieces and transfer to a dish.  Repeat with all remaining dough balls.

In a large pot of salted, boiling water, drop the dough in batches into the water and cook until firm, warmed through, but still tender, about 5-7 minutes.  Remove using a slotted spoon, making sure they're well drained, and transfer to a covered baking dish.  

Meanwhile, melt the butter over medium-high heat until butter is browned, not burned, and has a nutty color and smell.  Remove from heat and quickly stir in honey melted and incorporated.  Add truffle oil and toss into gnocchi.  Serve immediately.  

Serves 4 

 
~~~~  °o°  ~~~~


This is obviously a recipe that missed the boat last week for Far East Week.  Featured once at Yakitori House, and featured in a similar form again at Katsura Grill at the Japan Pavilion in EPCOT, this hearty combination of soup and noodle dish is the perfect wintertime treat.  In fact, this is customarily served as an end-of-year celebration dish.  The version served at Disney is from the Osaka region, though somewhat tempered to American audience it serves...  In Osaka, just before the dish is served, a raw egg is cracked into the dish and tossed into the noodles before serving.  In Tokyo, the raw egg is served on the side and each bite is dipped into the egg before eating.  Yikes!  Needless to say, I went with preparing this the EPCOT way, sans raw egg wash.

There are a few things I did differently for this recipe...  First off, it calls for kombu dashi, or a form of fish and seaweed stock.  Being a fan of neither, I substituted this for chicken stock with an additional tablespoon or so of chicken base.  It sounds strong, and it is...  If you worry it's too strong, simple water with the base mixed in is fine, though the flavors in this dish are supposed to be strong.  Trust me, it's not as overwhelming as it sounds.  Secondly, the meat is supposed to be much, much, much thinner...  Almost paper thin.  I got the thin-sliced stir-fry beef instead because it was cheaper and I was in a hurry and didn't want to wait for the butcher to slice me the thin stuff I needed.  It obviously doesn't change the taste, but the texture does change pretty dramatically.  Having had the authentic stuff at Katsura Grill in January, I have to say I wish I'd gone with the thin, thin cut.  It makes for such a wonderful consistency.


This dish was a big, big hit.  Something I plan on adding to my regular menu...  It's fast and tasty and just the right amount of sweet and savory.  And hey!  I remembered the green onions this time!

~~~~  °o°  ~~~~

Sukiyaki
As is served at Katsura Grill, formally Yakitori House, Japan Pavilion, EPCOT
 
°o°  1 pound beef, sliced very thin
°o°  1 tablespoon oil
°o°  1 onion, sliced
°o°  1 bunch green onions, chopped
°o°  1/4 pound shredded carrot
°o°  2 packs udon, prepared according to package directions

Sukiyaki Sauce
°o°  1/4 cup soy sauce
°o°  1/4 cup mirin (sweet cooking wine)
°o°  1 cup dashi (fish stock, or chicken stock with added chicken base)

Dashi
°o°  1 cup water
°o°  1 inch square konbu (sea weed)
°o°  1/2 cup bonito flakes
  
To make dashi, add konbu to water and allow to soak for at least 2 hours.  Transfer to a saucepan and bring to a low boil over highest heat, boil for about 1 minute.  Remove from heat and add bonito flakes and allow to stand for 5 minutes.  Strain liquid into a bowl, removing all bonito and konbu, leaving just the liquid.

Combine all ingredients for sukiyaki sauce, set aside.  Heat a large pot and add oil.  Add beef slices and cook rapidly until almost done (the thinner the beef, the faster this process).  Add onion and carrot and cook for about 1 minute, then pour in sauce.  Lower heat and cover, allowing the vegetables to cook until desired doneness, about 7-10 minutes.  Traditionally, the vegetables are left fairly crunchy.  If cooked until soft, adding a little more water may be necessary.


~~~~  °o°  ~~~~